Designing an efficient garden drainage system is crucial for maintaining the health of your garden. Excess water can lead to waterlogging, root rot, and soil erosion, while inadequate drainage can leave your plants stressed and struggling. An effective drainage system will ensure that water flows freely, keeps the soil healthy, and prevents flooding, giving your plants the best growing conditions. Here’s a step-by-step guide on how to design a drainage system for garden for maximum efficiency.
1. Assess Your Garden’s Drainage Needs
The first step in designing a drainage system is assessing your garden’s current drainage conditions. Understand how water behaves in your garden and where the problem areas lie.
Key Factors to Assess:
- Soil Type: Is your soil sandy, clayey, or loamy? Each type has different drainage characteristics. Sandy soil drains quickly, while clay soil holds onto water and may require more robust drainage solutions.
- Slope of the Garden: Sloped gardens often have natural runoff. On flat land, water may pool in certain areas.
- Problem Areas: Identify low-lying areas or spots where water tends to accumulate after rain. These areas will need more attention in your drainage design.
Action Step:
Take note of where water pools or lingers and where the garden slopes. This will help you choose the right drainage solutions for those specific areas.
2. Plan Your Drainage System’s Layout
Once you have an idea of the problem areas in your garden, you can begin planning your drainage system layout. A well-thought-out system will direct excess water away from your garden and prevent future waterlogging.
Key Considerations:
- Water Flow Direction: Determine how water naturally flows through your garden. It is crucial to plan the drainage to work with the flow of water rather than against it.
- Disposal Point: Decide where the excess water will be directed (e.g., to a storm drain, soakaway, or rain garden).
- Types of Drainage Solutions: Choose appropriate solutions for each area of the garden based on the water flow and the type of soil. Some areas might need a simple surface drain, while others may require more advanced systems like French drains or soakaways.
Action Step:
Sketch a simple layout of your garden and mark the areas where water tends to pool or flow. Then, decide the most suitable drainage systems to address each issue.
3. Choose the Right Drainage Solutions
Depending on your garden’s unique needs, different drainage systems may be required to ensure maximum efficiency. Below are the most commonly used drainage solutions:
a. French Drains:
French drains are ideal for redirecting excess water from areas where water pools or in areas with heavy rainfall. This system consists of a trench filled with gravel and a perforated pipe that channels water away from your garden.
- Where to Use: Areas with standing water or where the soil has poor drainage (like clay soil).
- How to Design: Dig a trench, line it with landscape fabric, add gravel, and lay a perforated pipe. The pipe should slope away from the garden at a gradient of 1-2%.
b. Surface Drains:
Surface drains are used for flat areas where water tends to collect on the surface. They are particularly useful for lawns or gardens with low spots.
- Where to Use: Low areas or depressions where water pools.
- How to Design: Install grates or catch basins to collect surface water, leading to a pipe that redirects it away from your garden.
c. Soakaways:
A soakaway is a pit or trench that collects excess water and allows it to gradually soak into the ground.
- Where to Use: Areas with soil that can absorb water slowly (like loam or sandy soil).
- How to Design: Dig a pit, line it with gravel, and allow water from your French drain or surface drain to enter. Ensure that the soakaway is deep enough to handle excess water without overflowing.
d. Swales:
A swale is a shallow ditch that channels water away from problem areas, particularly on sloped gardens.
- Where to Use: Sloped gardens where water tends to flow downhill.
- How to Design: Dig a shallow ditch along the contour of the slope, creating a gentle curve that directs water away from the garden.
e. Permeable Paving:
Permeable paving allows rainwater to seep through the surface, reducing runoff and allowing water to be absorbed into the ground.
- Where to Use: Patios, driveways, and walkways.
- How to Design: Use porous materials like permeable paving blocks, gravel, or porous concrete that allow water to pass through.
4. Ensure Proper Slope and Gradient
For your drainage system to work efficiently, you must ensure that it slopes appropriately to allow water to flow downhill. Water should never pool at the entrance of a drain or soakaway, as this will reduce its effectiveness.
How to Achieve the Right Slope:
- French Drains & Surface Drains: Ensure a minimum slope of 1-2% to encourage proper water flow.
- Swales: The slope should be gentle enough to prevent erosion but steep enough to direct water away from the garden.
Action Step:
Use a level and a string line to measure and create a gentle slope for your drainage system. For larger areas, you may need to use a professional grading tool or consult an expert.
5. Incorporate Maintenance and Accessibility
A drainage system should be low-maintenance but still require occasional upkeep to stay functional. When designing your system, ensure that it is easy to maintain.
Maintenance Tips:
- Clean Drains Regularly: Make sure that surface drains, French drains, and catch basins are free of debris and leaves.
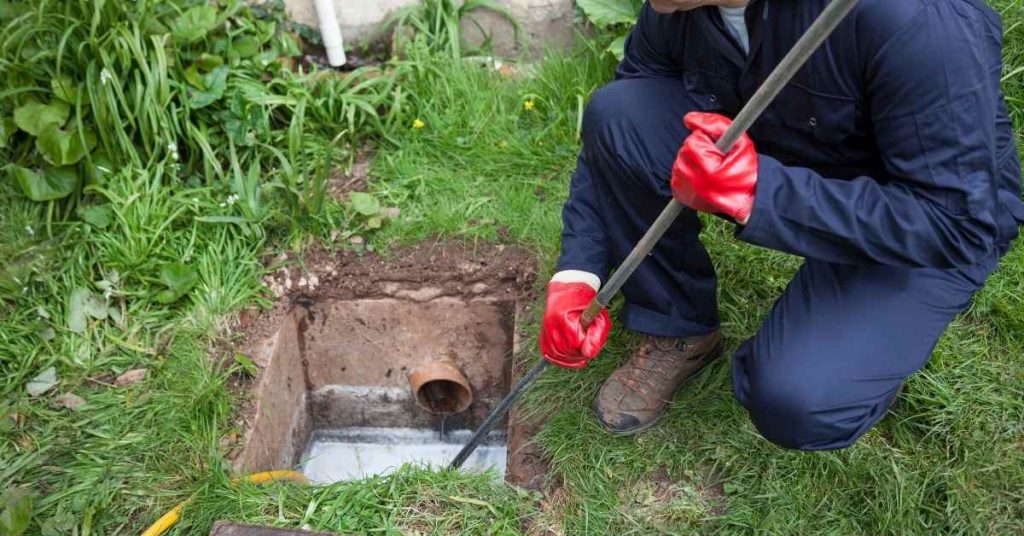
- Inspect for Clogs: Over time, pipes can become clogged with dirt and roots. Ensure that your system includes access points for easy inspection and clearing.
- Keep Gravel and Soakaways Clear: Ensure that gravel-filled trenches and soakaways don’t become compacted over time, allowing water to drain freely.
Action Step:
Install inspection ports or access points along your drainage system to allow for easy maintenance and cleaning.

6. Test the System
Once your drainage system is installed, it’s essential to test its functionality before heavy rainfall occurs. Test the system by simulating a rainfall event (using a garden hose or sprinklers) to see if the water flows in the desired direction and no areas become waterlogged.
Testing Tips:
- Watch for any pooling of water that doesn’t drain away.
- Ensure water flows smoothly into the soakaways or drains.
- Make adjustments to the slope or trench depths if needed.
7. Consider Landscaping for Drainage Efficiency
Incorporating plants and landscaping can also help manage water in your garden and improve the efficiency of your drainage system. Certain plants, such as water-loving grasses, ferns, and shrubs, can help absorb excess moisture from the soil.
Landscaping Tips:
- Rain Gardens: Plant water-loving plants in low areas where water naturally collects. These gardens can help filter excess water and provide an aesthetic focal point.
- Mulch: Use mulch in your garden to slow evaporation and help retain moisture in drier areas while preventing erosion in wetter areas.
Conclusion
Designing a garden drainage system for maximum efficiency requires a clear understanding of your garden’s unique needs and the right drainage techniques for the job. By assessing the problem areas, selecting the appropriate drainage solutions, ensuring proper slope, and incorporating low-maintenance features, you can create a drainage system that protects your garden from flooding, promotes healthy plant growth, and ensures your garden thrives in all weather conditions.


